Supplement on Commissioning of Infrared Detector PA-5312E for Parking Lot
2024-02-25 10:07:58
Supplement on Commissioning of Infrared Detector PA-5312E for Parking Lot
First of all, thank customers for using TAKEX parking lot infrared detector PA-5312E!
In the previous article about the debugging of PA-5312E, it briefly introduced the debugging of ceiling installation. Now, let's give a brief introduction to how to debug the PA-5312E installed in the wall-mounted mode.
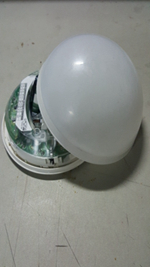
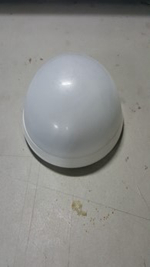
Viewed from the outside, the PA-5312E, like most passive infrared detectors mounted on the ceiling, has a hemispherical appearance. If wall-mounted installation is required, the user needs to unscrew the lens and push the plastic limit bar next to the detection system bracket in the probe away with a screwdriver (inference). Figure A, B
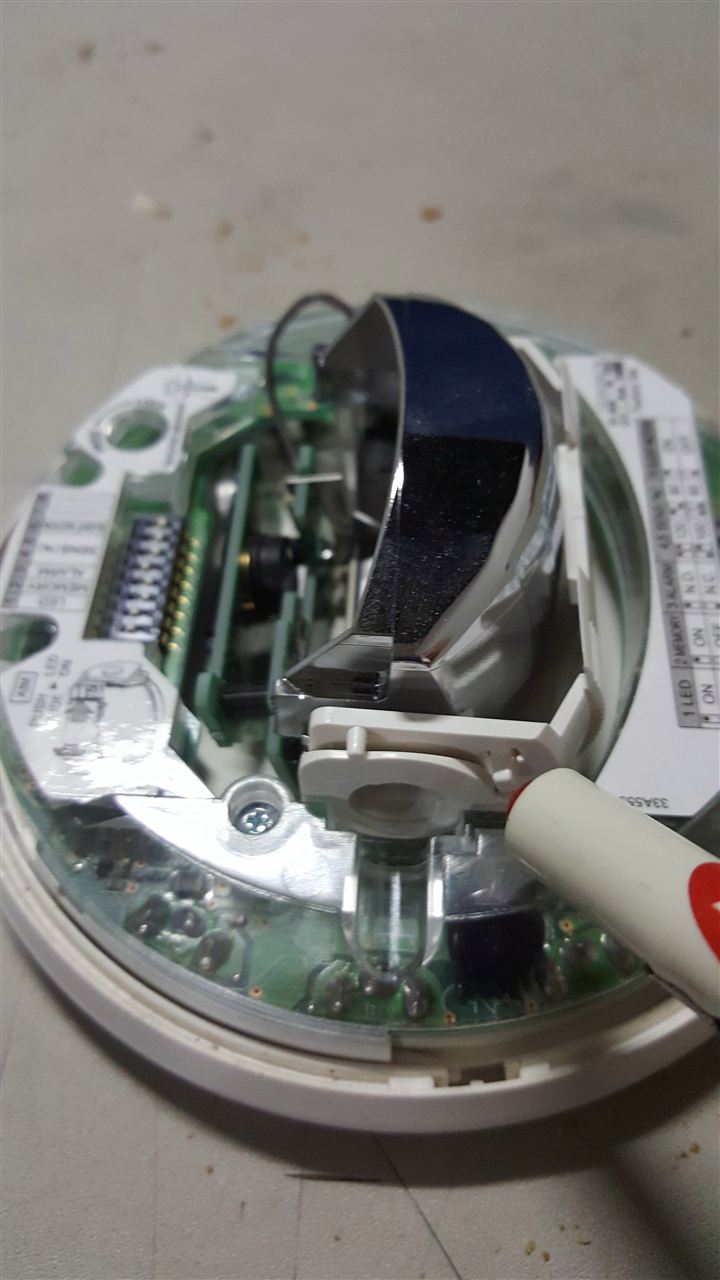
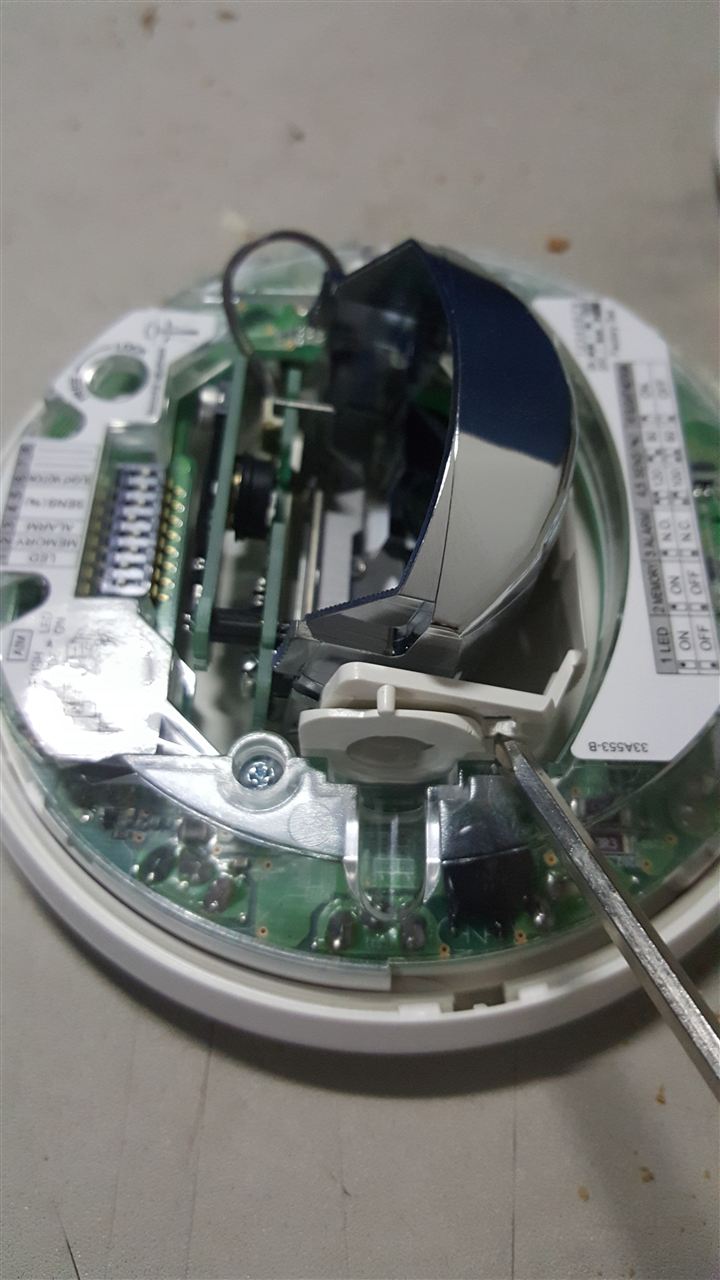
(A) (B)
In this way, the entire detection system can continue to rotate downward. There are two height-distance comparison tables on the back of the probe, one is for ceiling installation and is used for comparison. The other one is for wall mounting.
As the entire detection system continues to rotate downward, through the bottom area adjustment window, you can see the adjustment table for the corresponding wall mount. Figure C, D
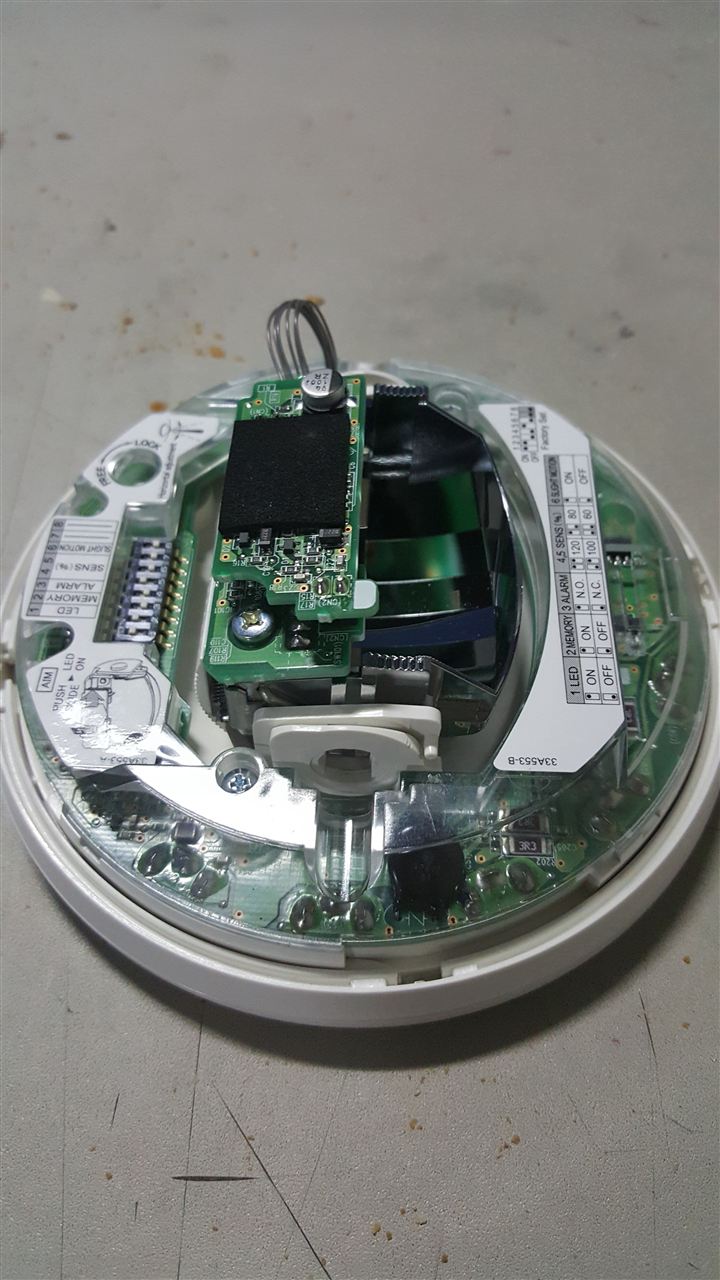
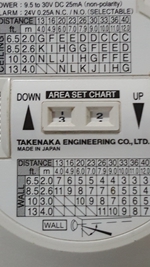
(D) (E)
The following installation and commissioning steps are the same as the ceiling installation. For details, please refer to "Debugging of Infrared Detectors for TAKEX Parking Lot in Japan"
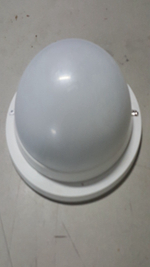
It should be noted that when mounting on the wall, the lens needs to be installed on the auxiliary mounting ring provided by the manufacturer, and then they are fixed and then on the probe. Figure E, F, G.
Dc Axial Fan 50X50X15,Centrifugal Dc Blower Fan,Computer Cpu Cooler Fan,Centrifugal Weathering Industrial Cooling
Crown Electronics CO., LTD , https://www.crownelectronicstw.com